Calling all globetrotters!
This November, make space for all things geography in your classroom. We have everything you need to decorate, educate, and motivate your students during Geography Awareness Week, from November 17–21.
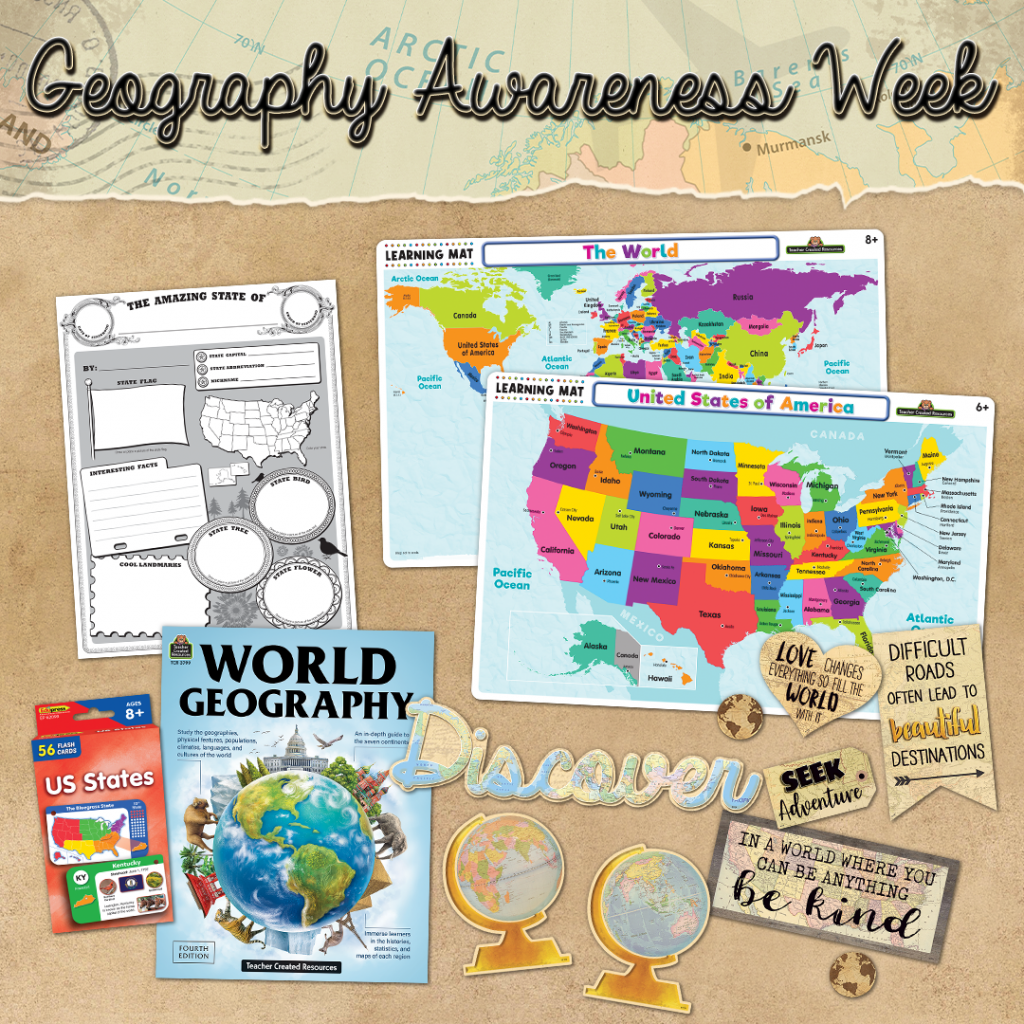
Give students a complete snapshot of Earth’s geography with this book! Featuring an in-depth look at the seven continents and the waterways that support and surround them, this book explores the landforms, resources, populations, cultures, and more of the entire planet.
Released in 2025, this 4th edition features updated maps and data, spotlights on natural wonders, a multiple-choice quiz to assess understanding of the continent covered in that section, and a brand new World Geography Game to assess all of the information students have learned about our world.
Teach students the essentials of world geography with these detailed learning mats. Our double-sided dry-erase mats challenge students to identify countries and continents on the World Learning Mat, and US states and capitals on the United States of America learning mat. After creating their own personalized mat, children can wipe it off and do it again, further enforcing important concepts.
Learn key information and fun facts all about the US States with these flash cards! With full-color maps and real photos, these cards are chock-full of interesting information about each state, including the capital, state flower, state bird, and more.
Once students have their states, capitals, and facts down, have them fill out their own state poster and present what they’ve learned to the class! Each poster has fields for specific information about the state, such as the capital, the date of statehood, landmarks, and interesting facts.
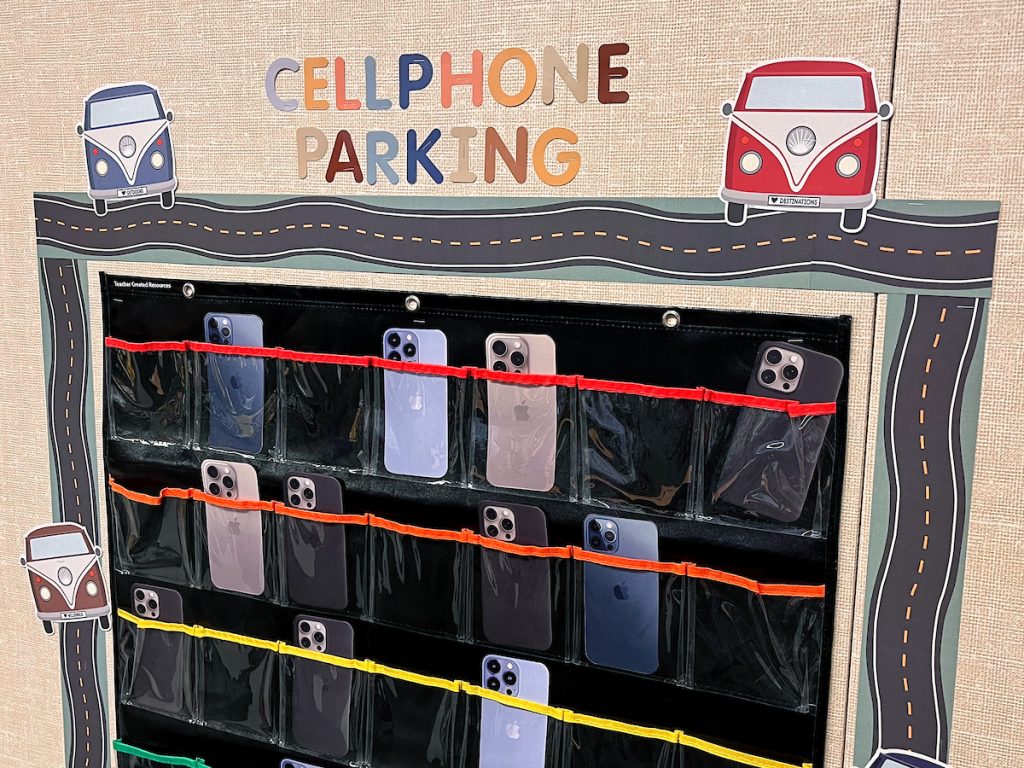
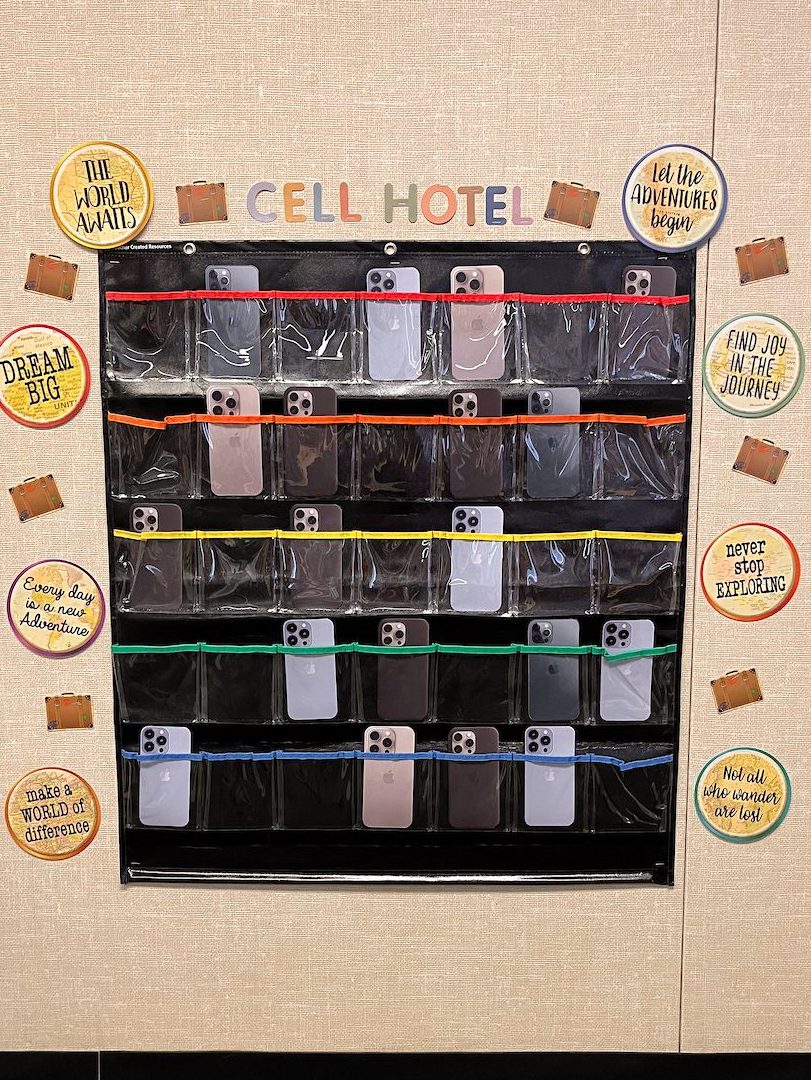
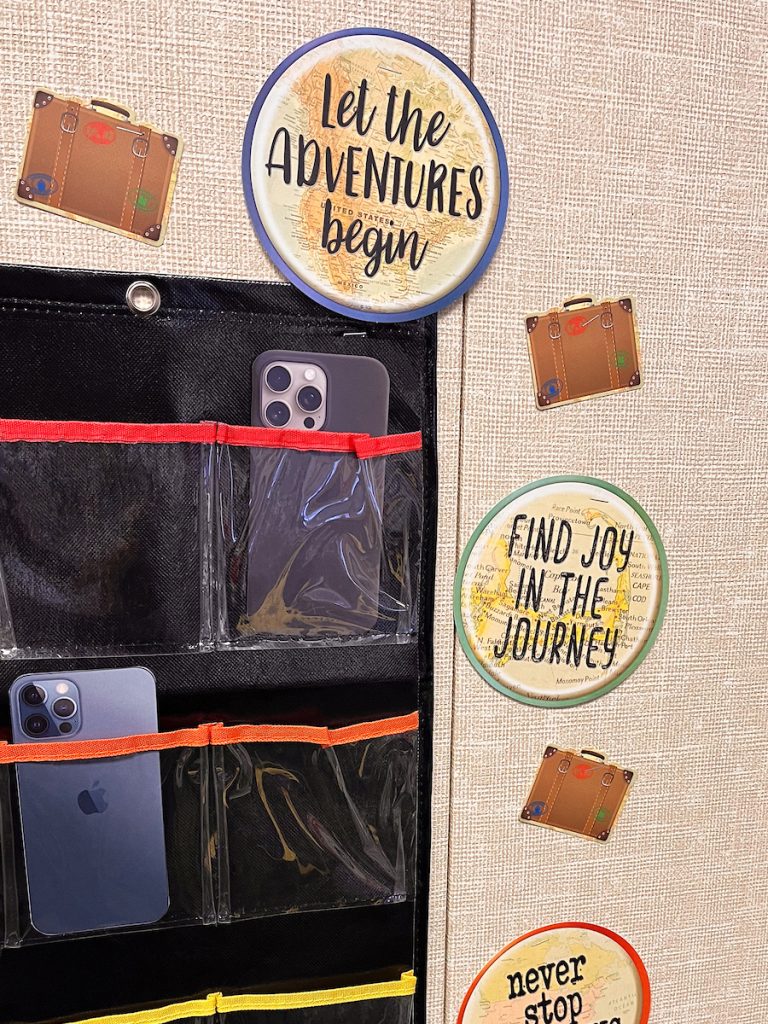
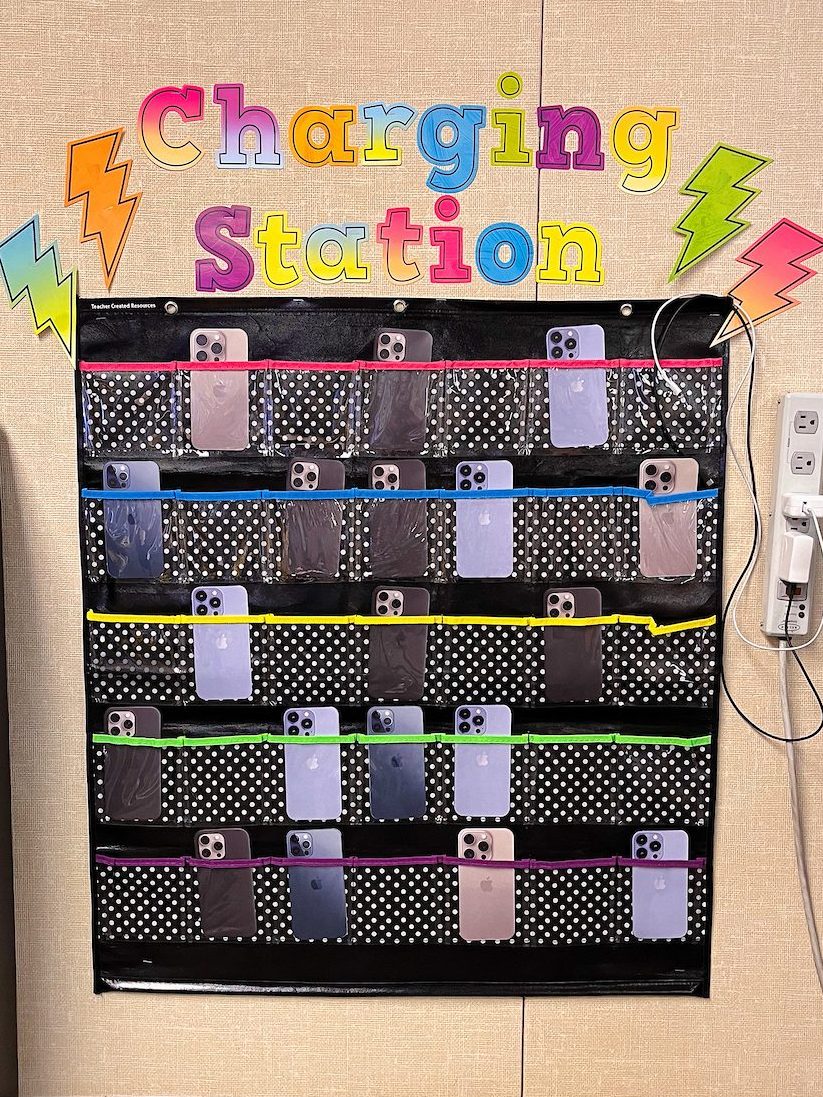
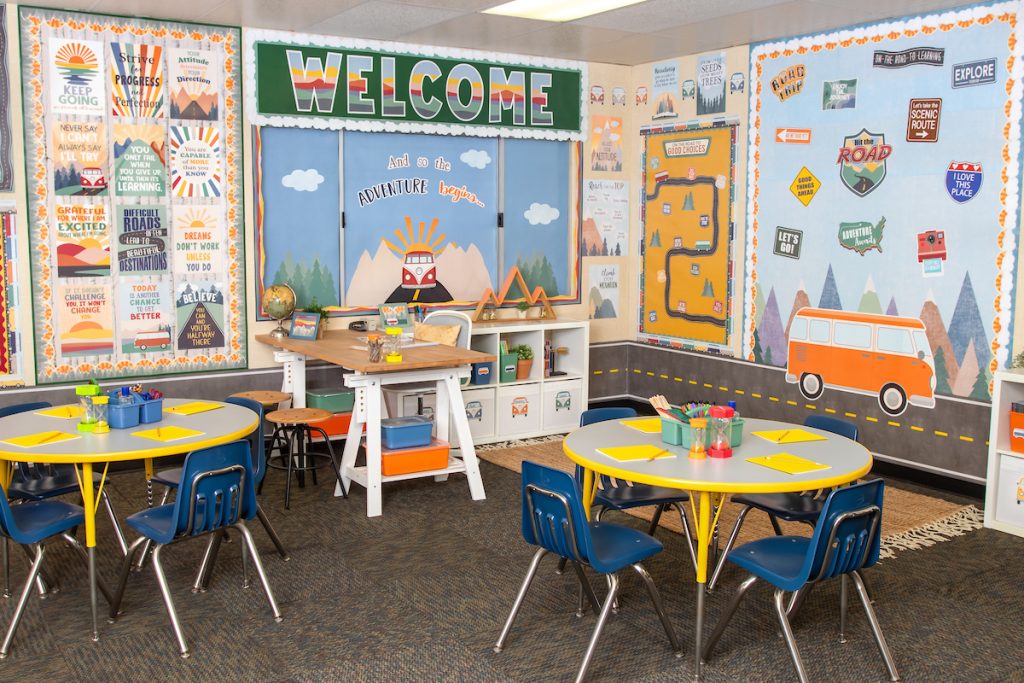
Embrace the 2025 theme of “making spaces of possibility” with our Travel the Map classroom decor. Vintage-inspired maps, globes, and other symbols of travel encourage students to explore, dream, and discover new worlds.