The days are getting shorter, the temperature is dropping, and the holidays are around the corner—winter is coming!
Transition your classroom into a winter wonderland with seasonal holiday bulletin board ideas. Featuring a festive mix of border trim, Better Than Paper®, and decorative accents, these bulletin boards offer a variety of traditional and contemporary decor ideas so there’s something for every kind of teacher. Refresh learning spaces, libraries, cafeterias, offices, and more with trendy, on-season decor that integrates seamlessly into any aesthetic.
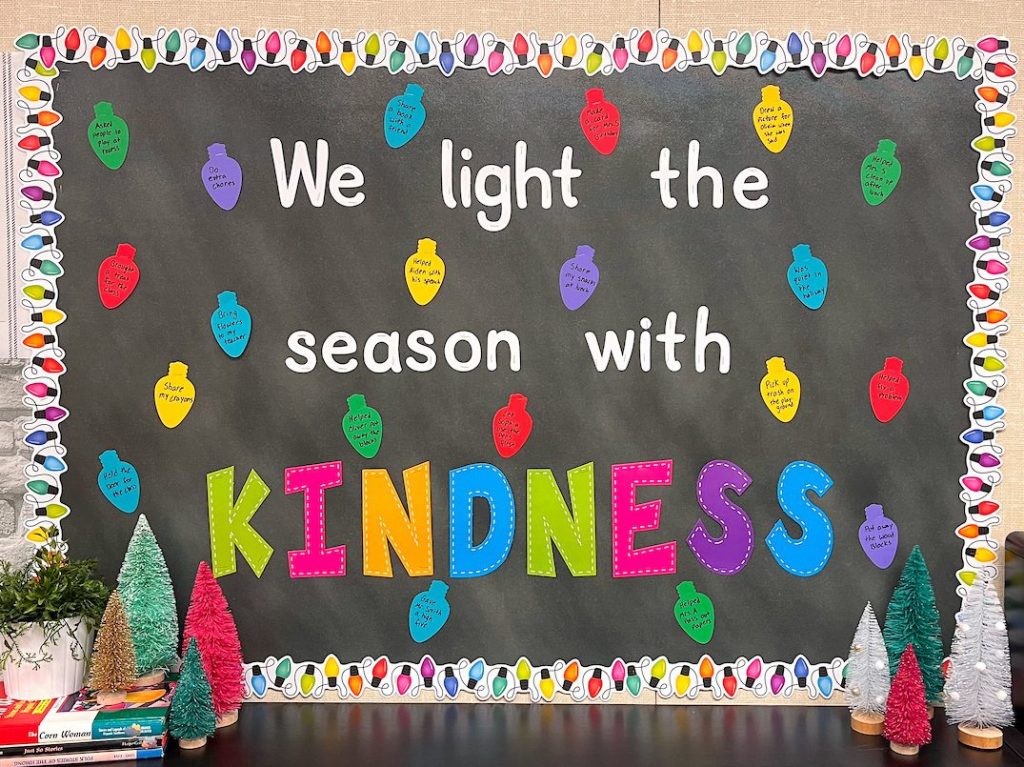
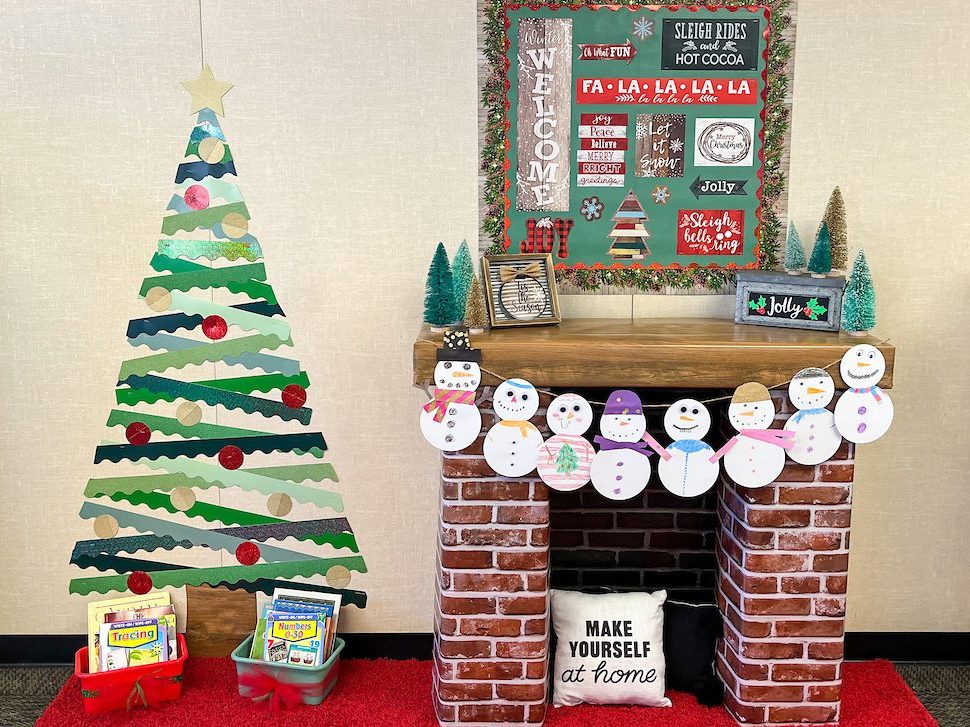
Colorful Winter
For a brightly-colored holiday display, begin by hanging Chalkboard Better Than Paper Bulletin Board Roll as a base. Then, add Colorful Holiday Lights Die-Cut Border Trim, the White 4″ Modern Classic Letters Combo Pack, and Multi Bright Stitch 7″ Fun Font Letters for a bright, cheerful holiday look that lights up any space with a rainbow of colors.
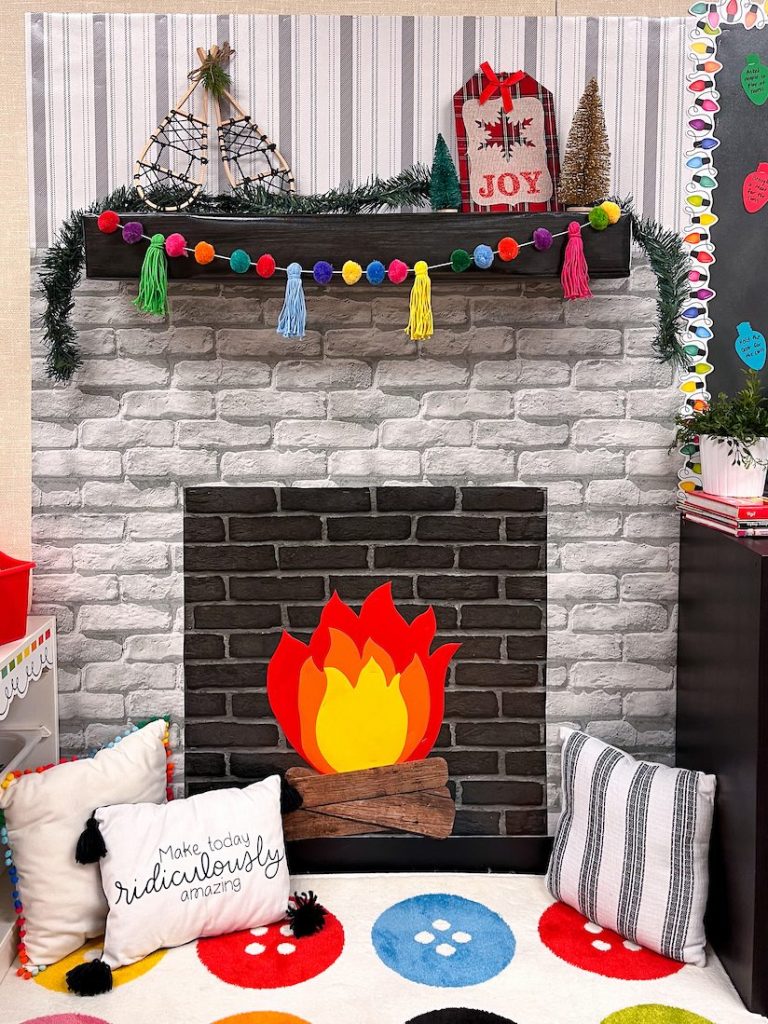
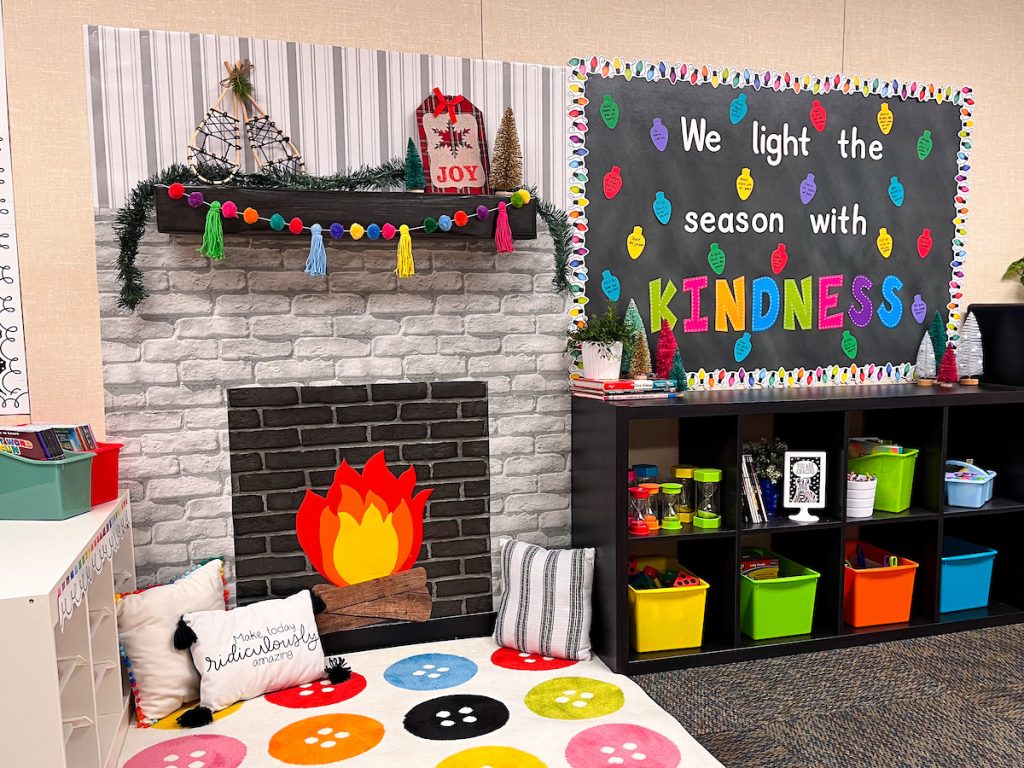
Create a faux fireplace using a combination of Better Than Paper rolls for a touch of modern warmth: Orange, Yellow Gold, Red, Black Brick, Fun Size Woven Stripes, Dark Wood, and White Brick. Then, add the Colorful Pom-Poms and Tassels Garland and a mantel to display additional holiday decor.
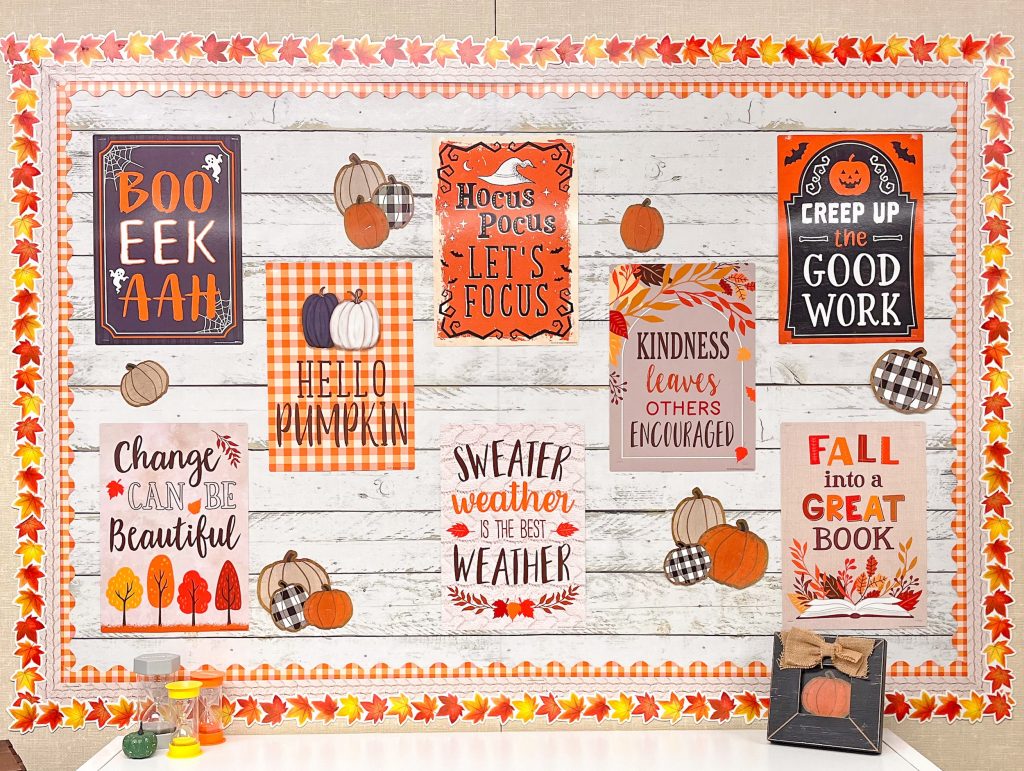
Sweet & Cozy
Bring on the sweaters, sugar cookies, and books!
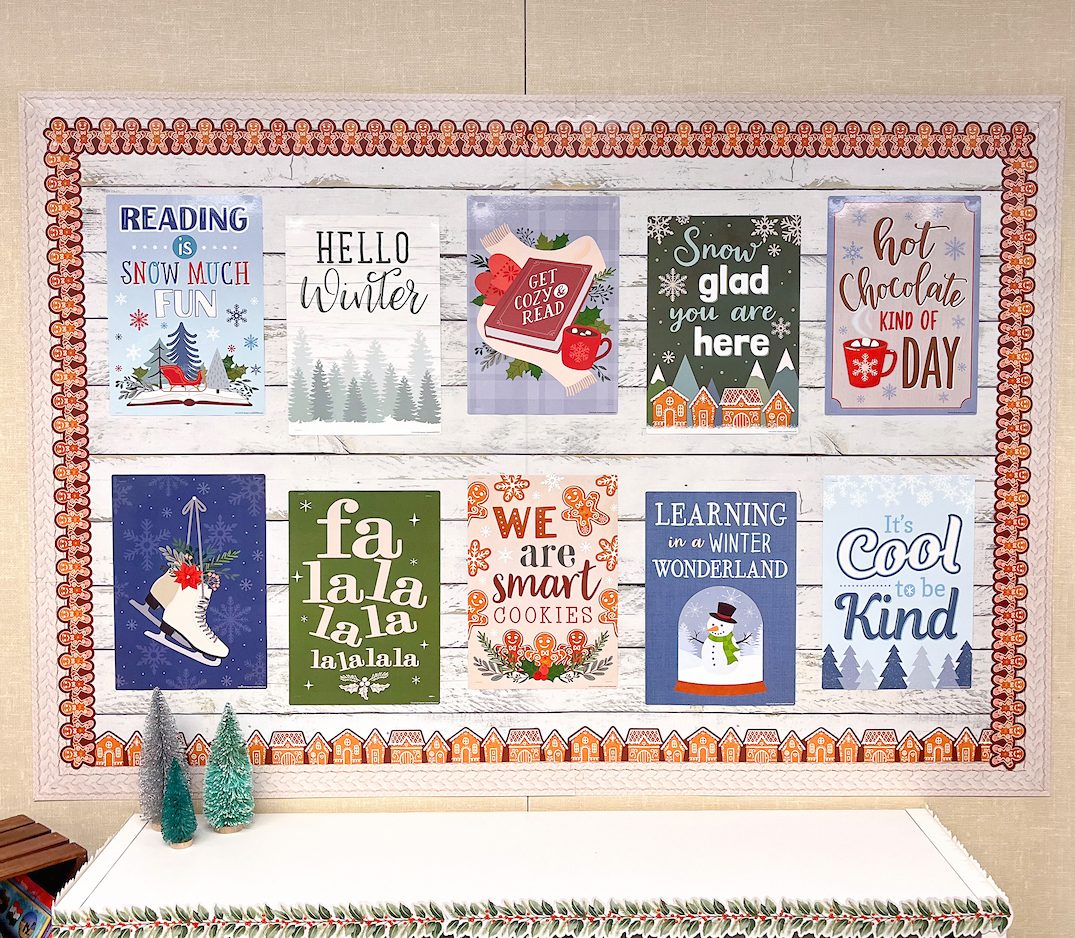
Layer Gingerbread Houses Die-Cut Border Trim, Gingerbread Cookies Die-Cut Border Trim, and the Everyone is Welcome Woven Straight Border Trim (similar to shown) together to create a sweet, festive edge to any bulletin board display.
Pair this border combination with the Winter Small Poster Pack and White Shiplap Better Than Paper Bulletin Board Roll for a cozy, seasonal display that brings warmth to your classroom. Add XXX trim along
Classic Christmas
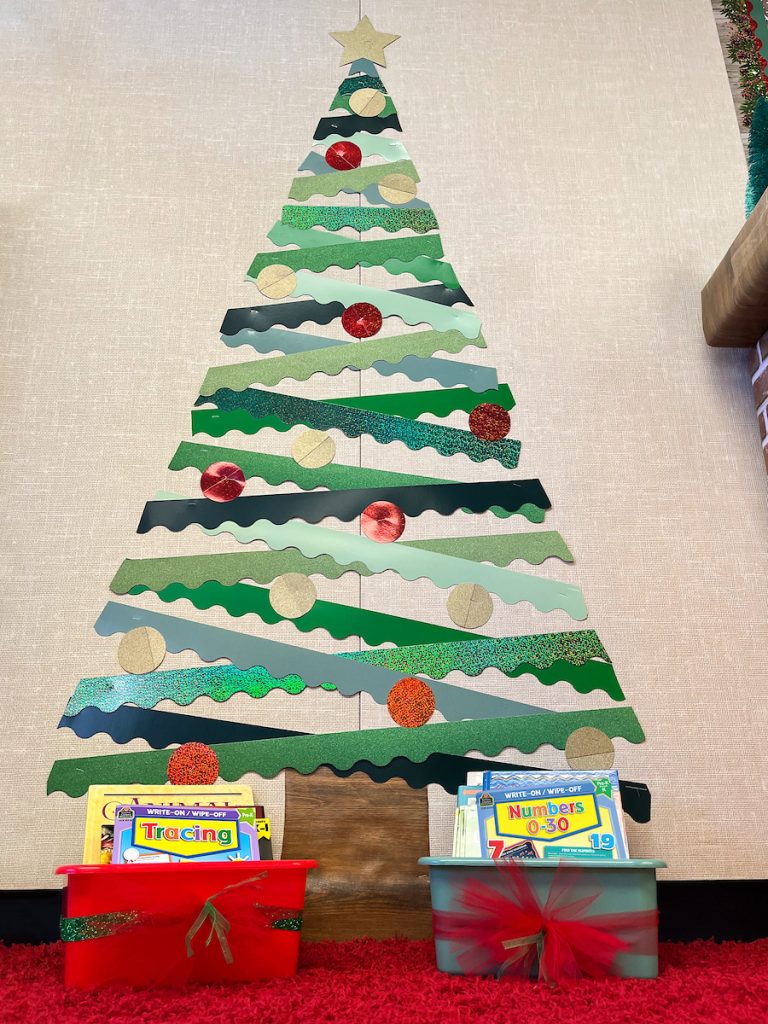
For a traditional red-and-green display, arrange a festive tree using a variety of green border trim cut at angles and layered into a pine tree shape. Photo includes: Hunter Green Scalloped, Green Scalloped, Eucalyptus Green Scalloped, Mint Green Scalloped, and Pine Green Scalloped.
Add Gold Glitz Stars Accents and ornaments made out of Gold Glitz Scalloped and Red Sparkle Scalloped Border Trim for a touch of sparkle.
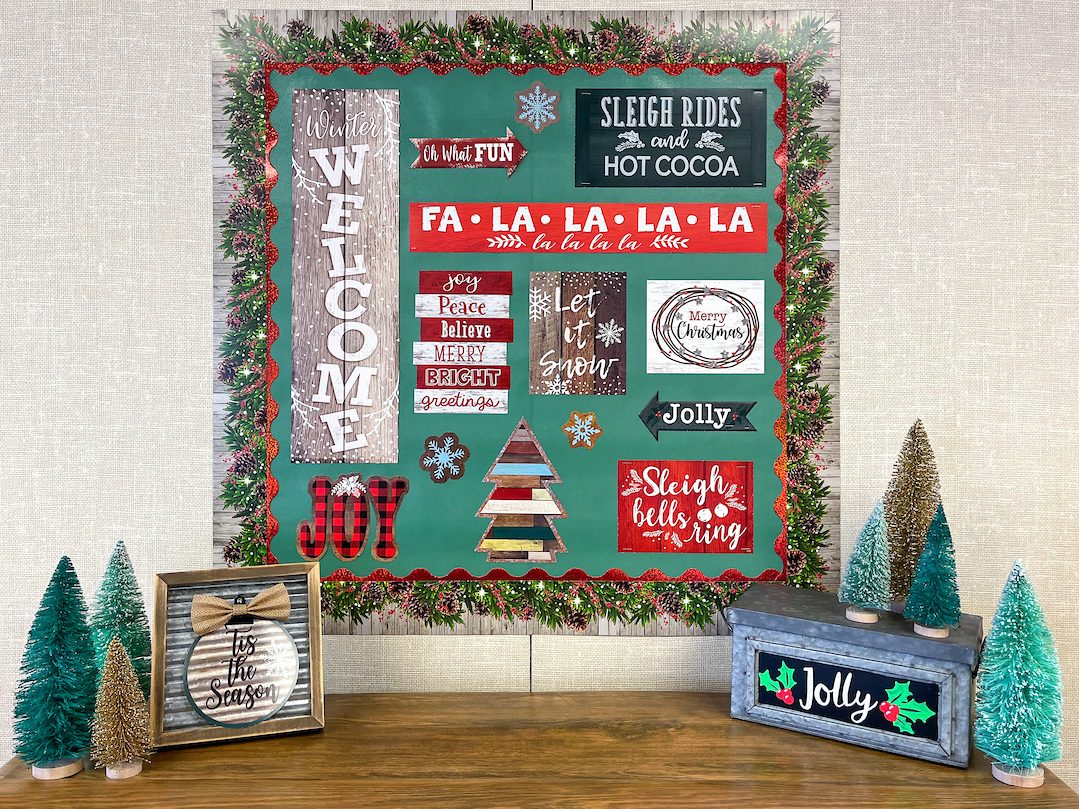
Next, build a fireplace using boxes and packing tape. Cover the base with Red Brick Better Than Paper and the top mantel with Fun Size Classic Wood Better Than Paper. Create a holiday display above the fireplace using Eucalyptus Green Better Than Paper as a base. Outline it with Red Sparkle Scalloped and Winter Pine Cones Straight Border Trim, then display decor from the Home Sweet Classroom Winter Mini Bulletin Board for a rustic, traditional Christmasy look.
For teachers who love all the little details, consider tucking book-filled bins (tied in a bow) under the “tree” to complete the holiday aesthetic. Frame a festive cutout—seen mounted on Corrugated Metal Straight Border Trim—in a wooden frame, or add bottlebrush trees and merry signage (drawn with Chalk Brights Liquid Chalk Markers) for a cohesive classroom look from wall to wall.
Warm Winter Wishes
If you’re looking to make a jolly visual impact but you’re short on time, grab the Warm Winter Wishes Create & Decorate Quick Kit for an easy-to-arrange display that comes together in a snap.
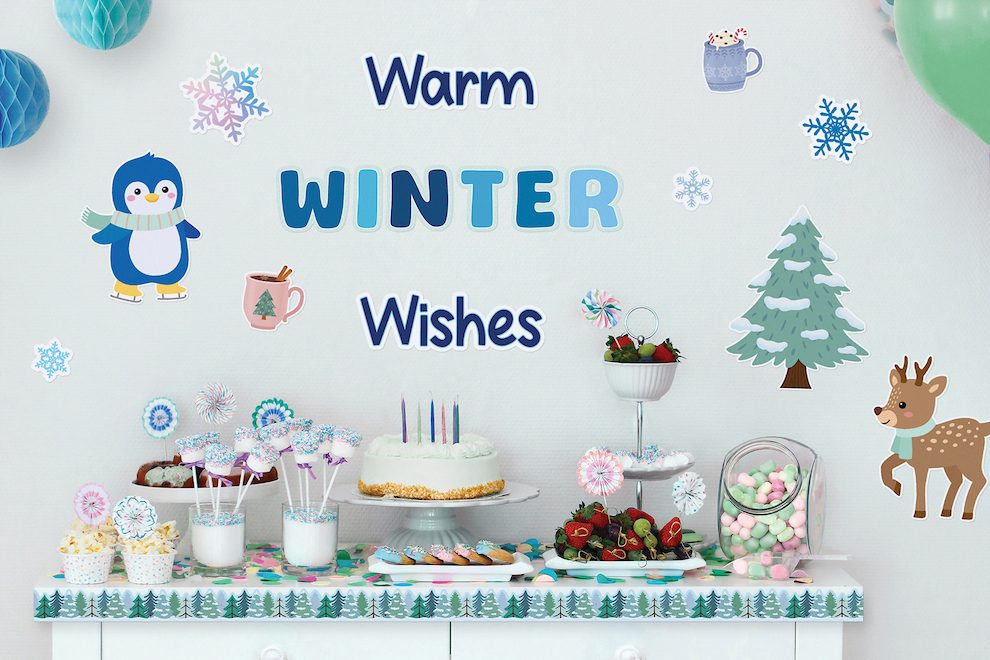
‘Tis the season for decor that celebrates the season of snowflakes, crackling fires, hot chocolate, and cozy scarves. Warm up any space with festive decor that keeps out the winter chill and creates a space where students stay engaged and focused all season long.