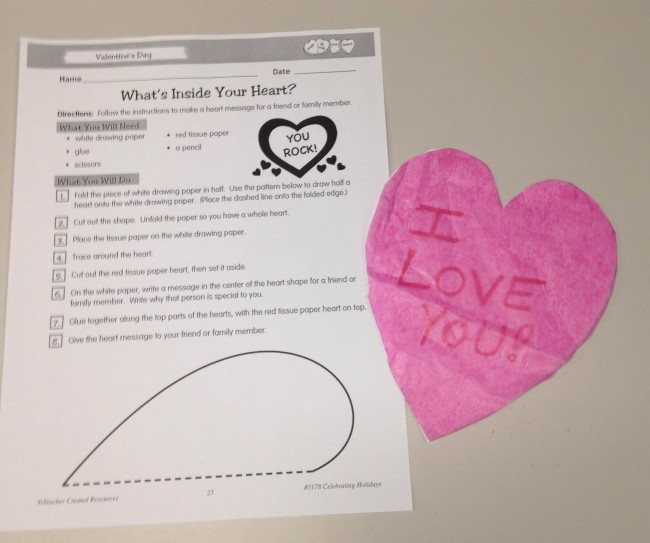
Each year on February 14th, people exchange cards, candy, gifts or flowers with their special “valentine.” Your students can use this pattern to make a special valentine for a friend or family member. Download the pattern from our book Celebrating Holidays.
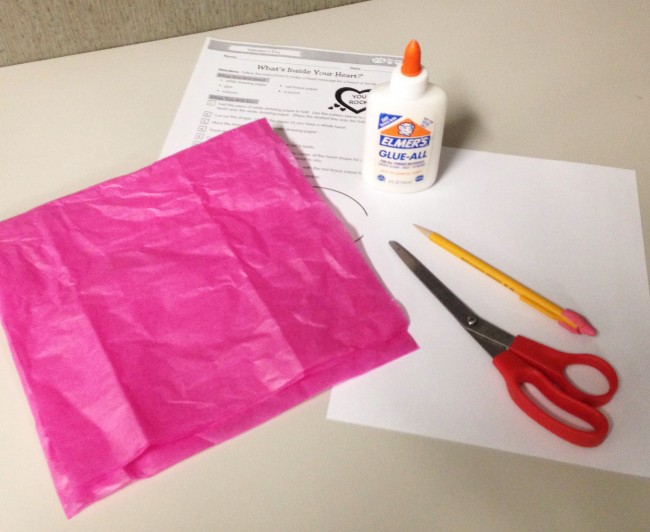
 All you need is white drawing paper, red or pink tissue paper, glue, scissors, a pencil, and a marker.
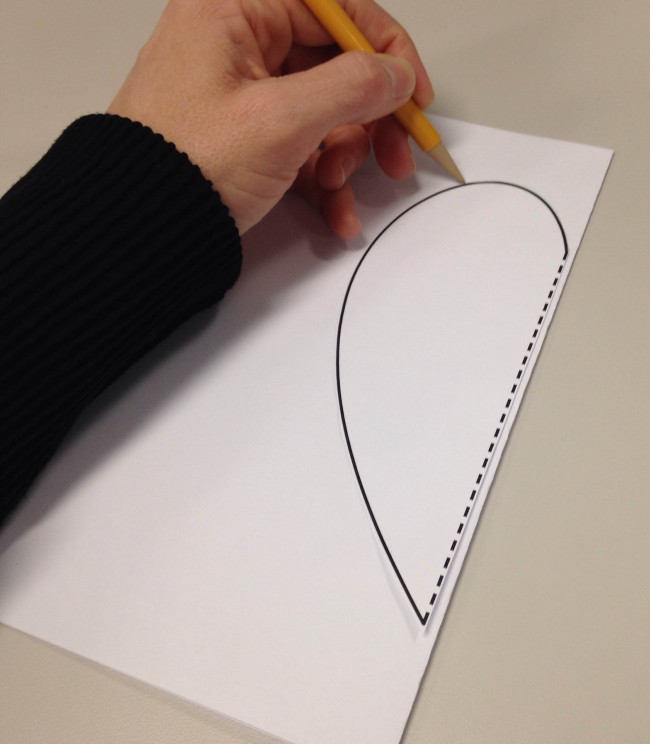
Step 1: Fold the piece of white drawing paper in half. Draw half a heart onto the paper.
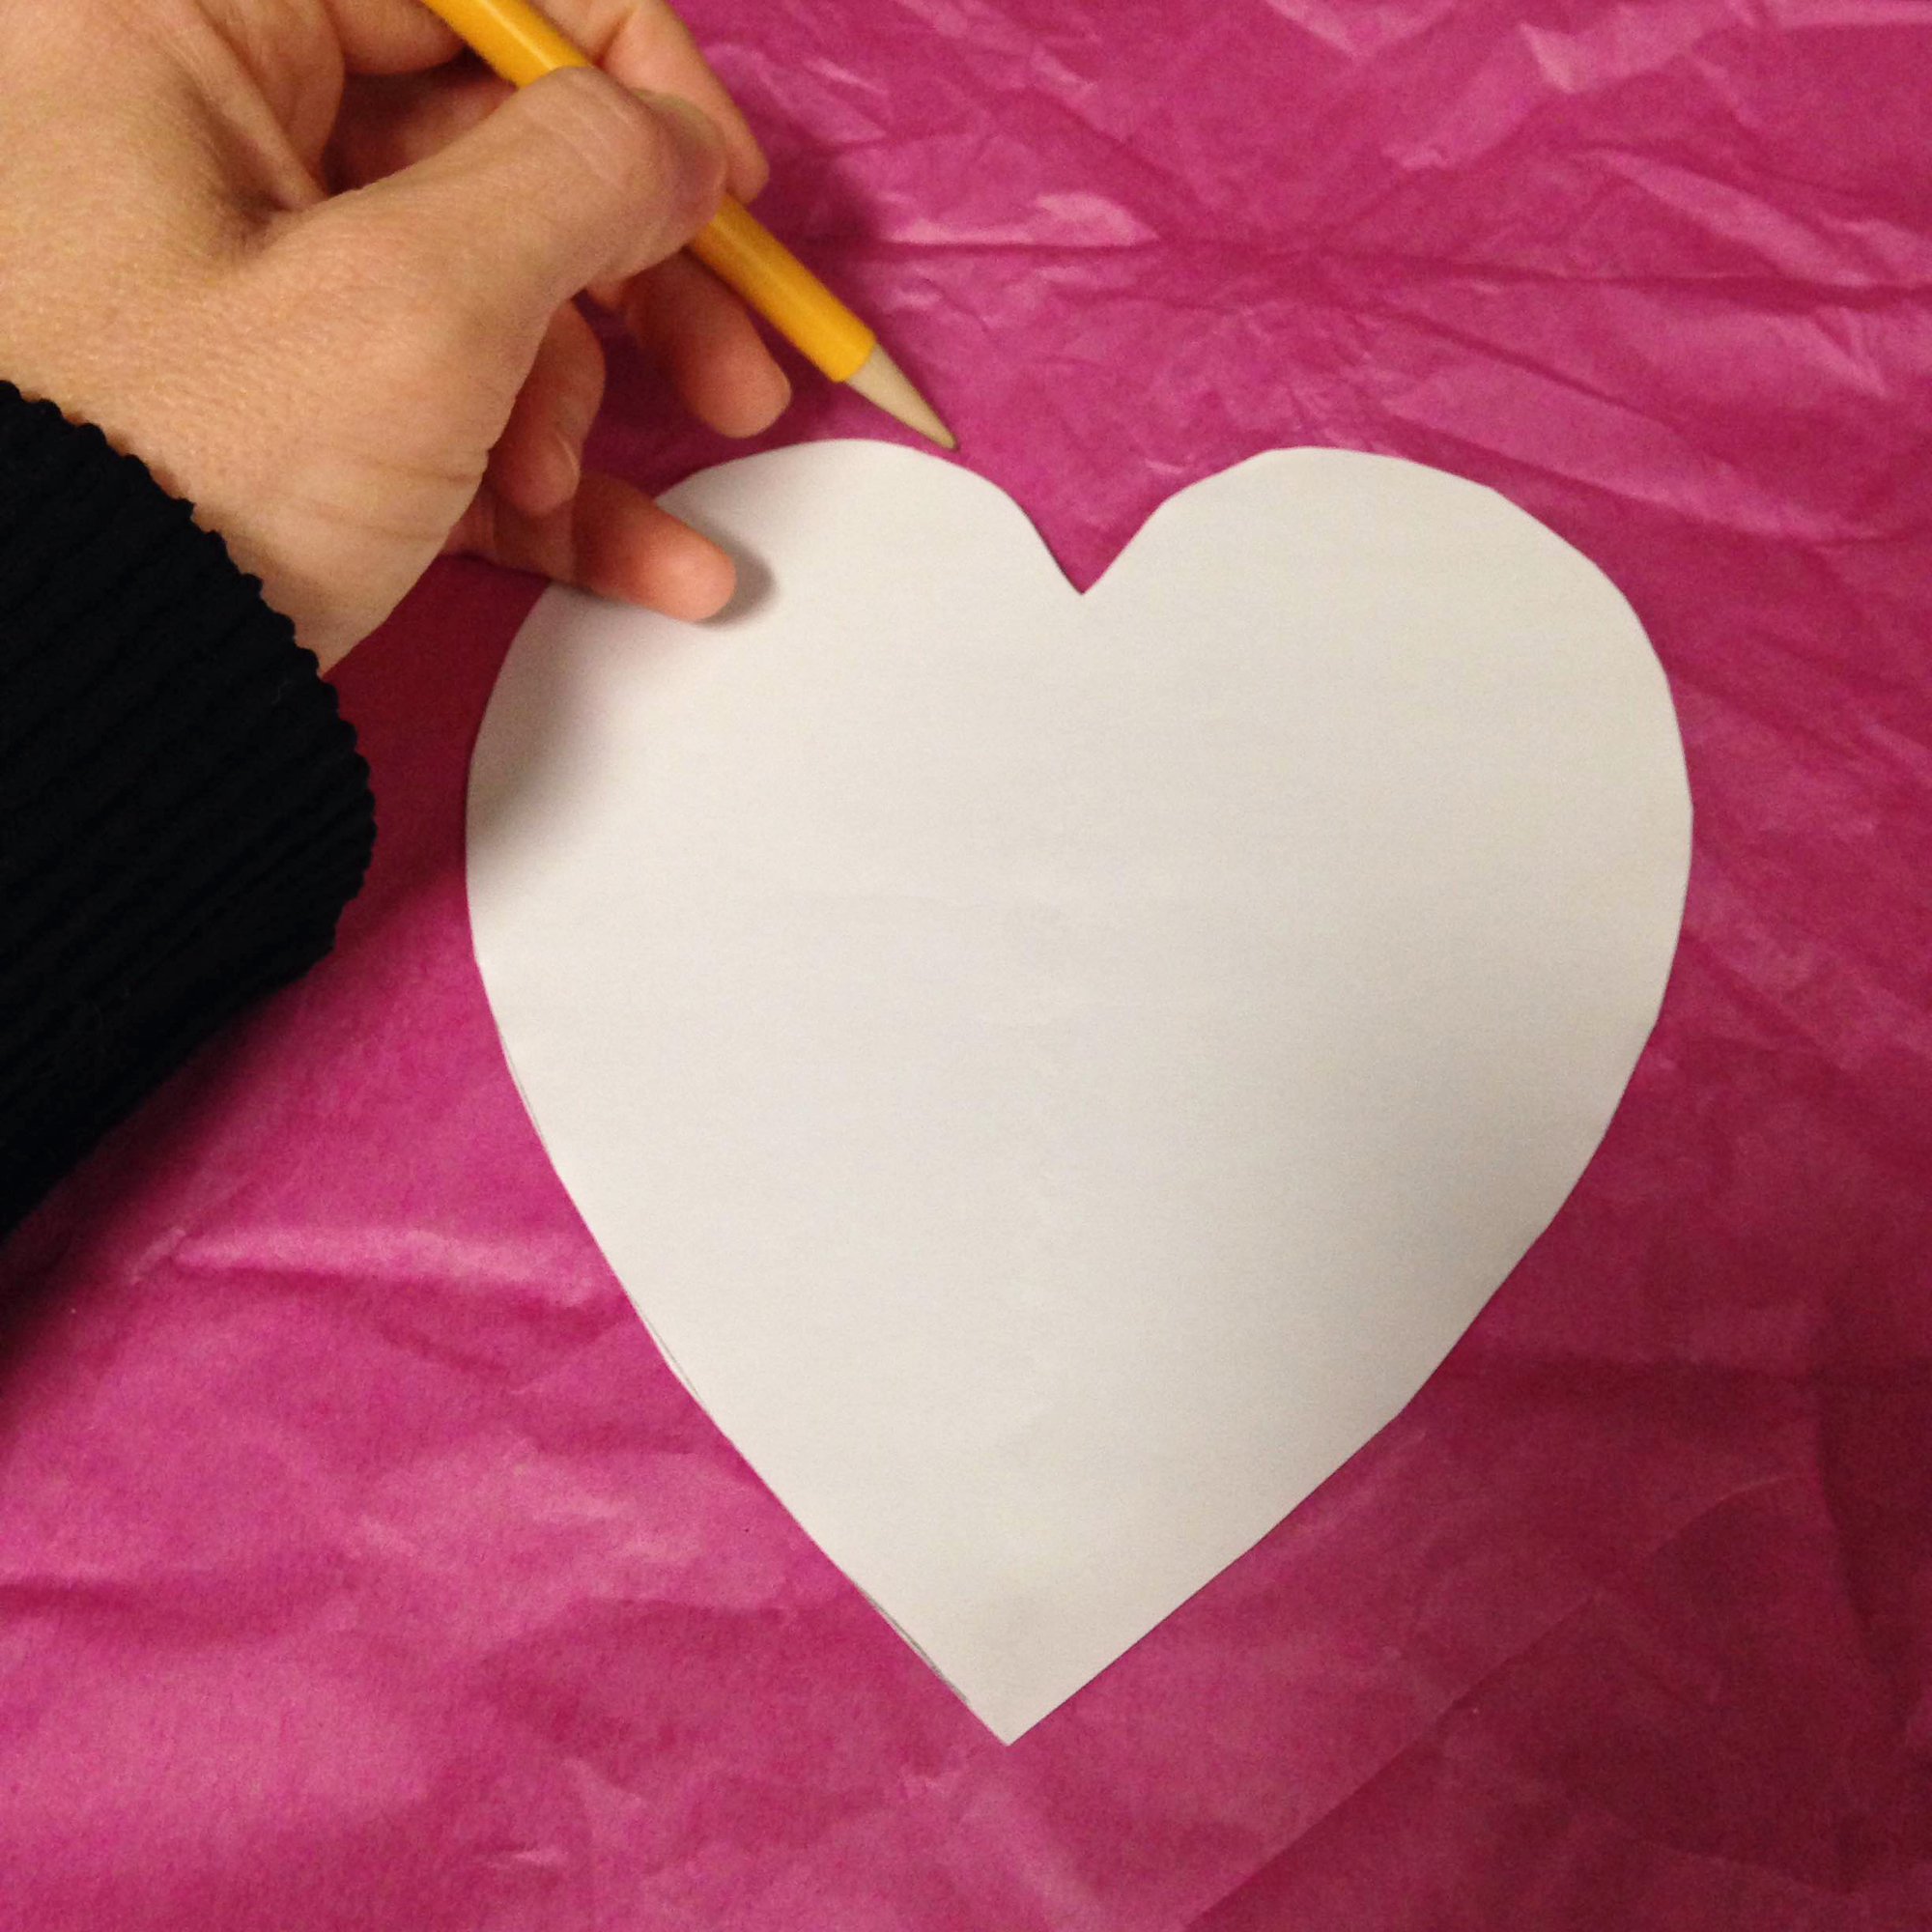
Step 2: Cut out the shape. Unfold it so you have a whole heart. Place the heart onto the tissue paper and trace around it. Cut out the tissue paper heart, then set it aside.
Step 3: On the white paper, write a message in the center of the heart shape for a friend or family member.

Step 4: Glue the top parts of the hearts together, with the tissue paper on top. Give the message to a friend or family member.
 You can also use the rest of the white drawing paper and any leftover tissue paper to create another valentine. Just glue the tissue to the back of the drawing paper to cover the heart-shaped hole, then write a message on the front of the paper.

From Teacher Created Resources Celebrating Holidays Grades 3-4