You’re in the home stretch and there’s a lot to do in the classroom to wrap up the end of another amazing school year. Don’t forget to celebrate all the achievements your students have made throughout the year. Present each student with a Certificate of Achievement Award during a classroom award ceremony. To make your students feel extra special, you could present each student with an individualized award that celebrates their best character trait, or best skill. Here are 30 award ideas for a memorable end of the school year award ceremony.
Most Spirited Award
Peacemaker Award
Super Speller Award
Technology Whiz Award
Super Scientist Award
Good Reader Award
Aspiring Author Award
Perfect Penmanship Award
Amazing Artist Award
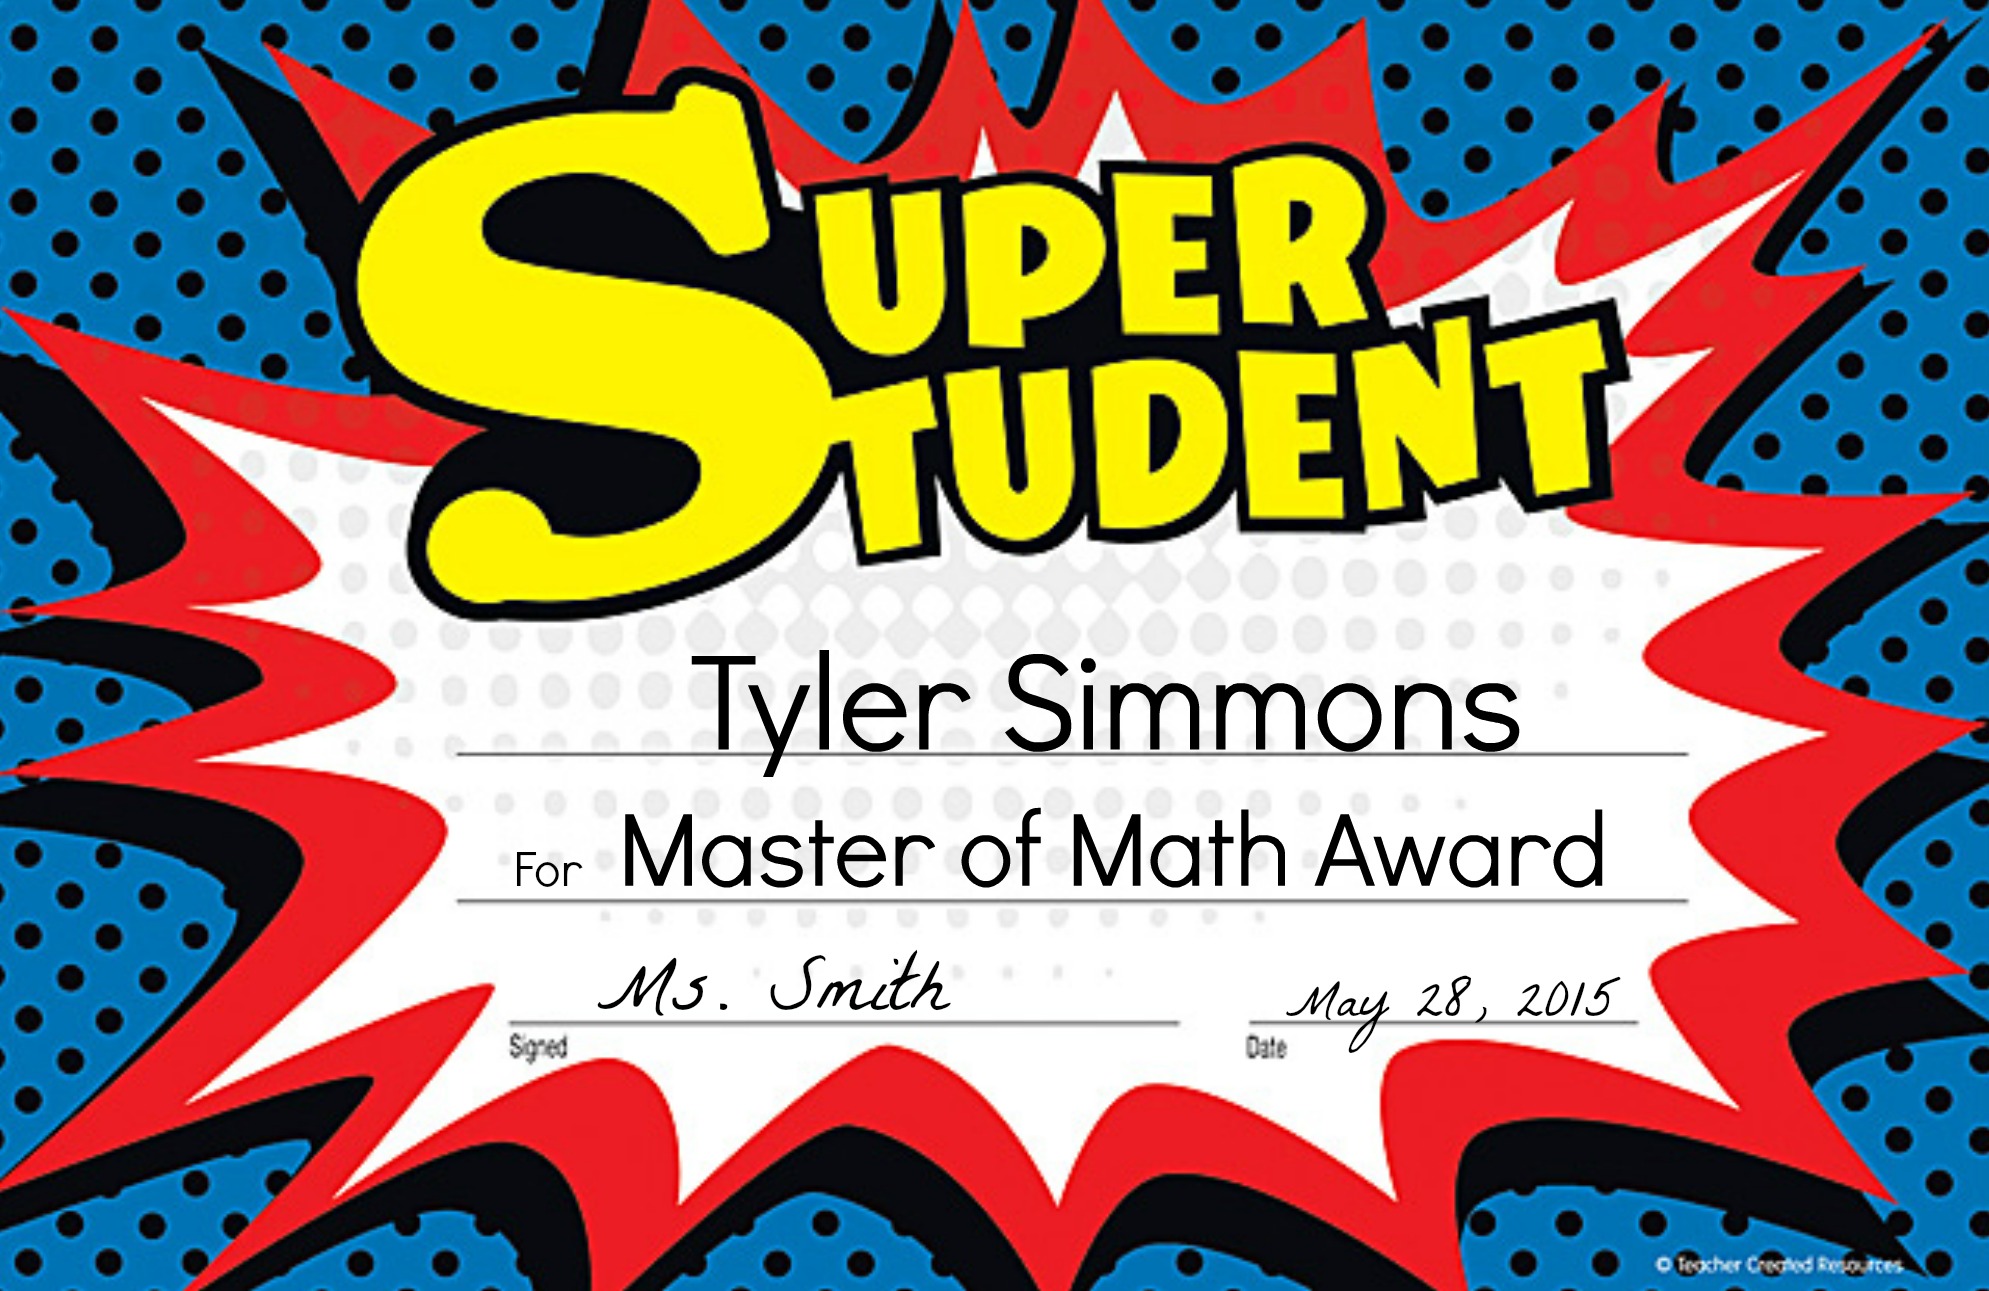
Master of Math Award
Queen/King of Crafts Award
Music Master Award
Good Leader Award
Classroom Comedian Award
Fashionista Award
Big Helper Award
Good Friend Award
Sunshine Award
Helping Hand Award
Best Manners Awards
Sportsmanship Award
Mother Earth Award
Problem-Solver Award
Most Creative Award
Good Friend Award
Organization King/Queen Award
Clean Up King/Queen Award
Perfect Attendance Award
Humanitarian Award Award